Image Map
Showing posts with label sprinkles. Show all posts

Friday, July 8, 2016

Happy 6th Anniversary WITK!

It's that time of year to celebrate here at WITK! It's been six years since I first opened up a blogger account and put my fingers to the keyboard to write. Over the years I've gone through pounds and pounds of sugar, butter and flour. I've tested out recipes from Thailand, Spain, Italy, China, Vietnam and countless other countries. I've deep fried, sauteed, crystallized, baked, but most of all, I've had so much fun.


The best part of blogging over the years is being inspired by the other bloggers out there in the world. I'm constantly amazed at the creativity of the bakers and home cooks living in the blogosphere. Reading through my Bloglovin' feed tempts me to try new things and motivates me to up my game.

However, recently I've been feeling decidedly uncreative. My time has been taken up by work, travel and life and I haven't been able to spend as much time as I would like here at WITK. This is the reason why my anniversary cake for 2016 is more than a little inspired by Sweetapolita. This cake is directly pulled from her 2015 cookbook. The colors were so cheerful and vibrant, the sprinkles so happy and bright, I decided not to deviate from the original design.


Thankfully, I have a few life changes planned in the next few months. These upcoming changes will hopefully bring me more time for creativity and baking! I have a massive desire to finish my 2015 and 2016 challenges and bring you all more candy than your teeth can handle. Until that time, please enjoy this beautiful cake. It is not only stunning, it is super delicious. Major kudos go to Rosie from Sweetapolita. She is such a talented baker and businesswoman. I want to buy all of her sprinkles!


Thank you all for coming along on this journey with me!

One Year Ago: Strawberry Cake
Two Years Ago: Neapolitan Cake
Three Years Ago: Milky Way Cake
Four Years Ago: Buffalo Sponge Candy Cake
Five Years Ago: Banana Coconut Muffins
Six Years Ago: Chocolate Cupcakes (with high altitude recipe)


Yum, Sprinkles!

Monday, June 20, 2016

Celebration Cupcakes

I'm constantly on the hunt for the perfect chocolate cupcake recipe. I think this one comes pretty close to perfect! The cake is soft and fluffy. The flavor is rich, with the perfect combination of chocolate and coffee. They bake up round and don't fall when cooling. I think I've found my new favorite chocolate cake!


I've called them celebration cupcakes simply because they make me so happy! The fluffy, white marshmallow frosting paired with the shiny chocolate drizzle and colorful sprinkles make this cupcake the perfect one to bring to any special event. Even though they look like they took all day long, each component of the cupcakes comes together really fast! 

I made the cupcakes while my lunch was heating up in the microwave. The frosting requires a bit of attention to heat the eggs, but then you toss it in the stand mixer and walk away. The chocolate glaze is as simple and melt, mix and drizzle.  Trust me, you can make these treats in under two hours. If you have helpers, you can probably knock them out in an hour!


I don't really have anything special to celebrate right now, so I'm sending these cupcakes to work with the boyfriend! Otherwise, I'll eat the entire batch. Maybe in a few weeks we'll have something to celebrate in the Wilde household. Until then, I'll try to eat healthy this summer and keep my cupcake consumption down to one per day!

One year ago: Celebration Sprinkle Cake
Two years ago: Neapolitan Cake
Three years ago: Momofuku Celebration Cake
Four years ago: PB&J Mallomars
Five years ago: Chocolate Cupcakes with Strawberry Buttercream

Tuesday, February 2, 2016

Greta Bars

This year for Christmas I asked for only one cookbook. If you've seen my collection, then you know that this is a strange occurrence. I love getting new cookbooks and spending my weekends reading through them. Whether it's to get new ideas for dinner, gain blogging inspiration or to just look at the pretty pictures, I have a massive collection of cookbooks.

The cookbook I requested this year was Milkbar Life, by Christina Tosi. I already own her original cookbook and have baked my way through a good portion of it. I have also taken three of her baking classes in Brooklyn and fell in love with her food attitude. Milkbar Life promised simpler recipes with delicious results. 

Christina didn't lie.


I decided to break in the cookbook by trying out The Greta. A classic sugar cookie bar from her mothers kitchen, these cookies are heaven. Just barely under-baked and covered in a serious amount of sprinkles, this pan of cookies quickly disappeared from my kitchen.


While I probably won't try every single recipe in the book (Hanky-pankies on page 24? No, thanks), many of the recipes are classic, grandma approved recipes. I think the boyfriend will be a big fan of this book, the food isn't fancy or pretentious.

Now excuse me while I go finish off the last of these cookies...

One Year Ago: Sauteed Chicken and Pears
Two Years Ago: Chocolate Heart Sandwich Cookies
Three Years Ago: Chocolate Chip Cookie Dough Yogurt Popsicles
Four Years Ago: Poffertjes: Cheese Pancakes
Five Years Ago: Orange Chiffon Cupcakes

Saturday, June 20, 2015

Celebrations

I'm wrapping up my fun with ice cream! Today it's all about bringing back childhood memories. We're doing that with sprinkles. Lots and lot of sprinkles!


I've been seeing a version of this cake around the internet and have been dying to make it in my kitchen. I mean, look at all of those sprinkles! It's so pretty! It's also seriously easy to do. No need to worry about smooth icing, piping bags or imperfections. Just cover your cake with frosting and pour on the sprinkles.


I didn't stop with just sprinkles on the outside, the cake is also filled with adorable bursts of color. This is the perfect cake for a birthday, whether the birthday person be eight or eighty! Just be sure to stock up on sprinkles, you'll need a whole bunch of them.


It isn't a birthday celebration unless there is ice cream to go along with your cake. As soon as I saw this Fireball ice cream among the flavors from Perry's escapes, I knew it would be the perfect pairing with my vanilla sprinkle cake. Nothing reminds me more of middle school than fireballs and this ice cream tastes exactly like the classic candy.


If you are in the region that sells Perry's Ice Cream, you should definitely go and try out this flavor. I was so surprised at how dead on the flavor was in this ice cream. It has a strong cinnamon and spice flavor, with little bits of fireball candy mixed throughout. You definitely don't need to eat an entire bowl of this stuff, a scoop with your cake will totally satisfy.


Feel like a kid again. For your next celebration eat lots of sprinkles and ice cream!


Three Years Ago: PB&J Mallomars

Tuesday, March 26, 2013

Momofuku Confetti Cookies

A few weeks ago, you may have read that Boyfriend and I 
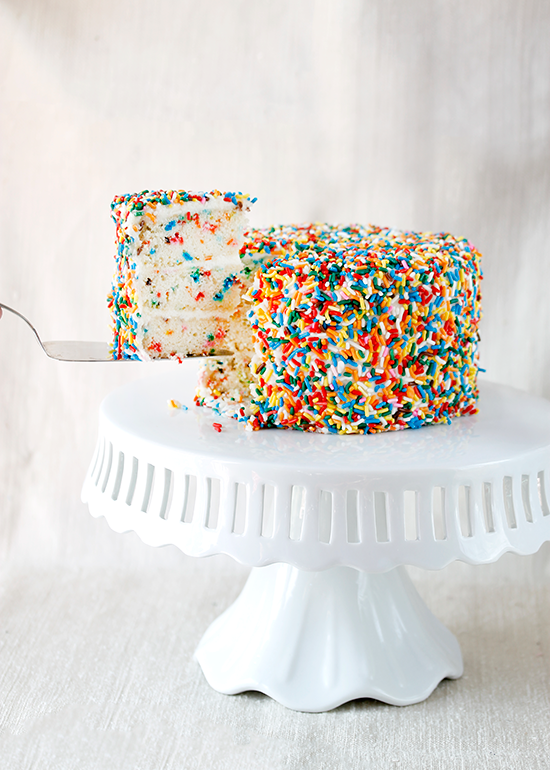
spent the evening at Momofuku Milk bar making Crack pie and cereal milk.  Well, BF went out of town for a business trip the other day and I went back to the bakery for more!  And this time we were making crumbs.


I was so excited to be able to make it to this particular class because I have had no luck making Milk bar cookies yet.  I've made them twice before and I have come out with vastly different results.  First, I made the blueberries and cream cookies and wound up with thin, crispy, non-delicious cookies.  The second time, I made the compost cookies and wound up with high mounds of baked dough.  I was determined to make this work!


At the crumb class, Tosi and her team showed us how to take ordinary ingredients, like powdered skim milk, and turn them into tasty inclusions for our baked goods.  We made a white chocolate-coated milk crumb and a sprinkle-filled birthday cake crumb.  The reason I signed up for the class though is what we did with the crumbs - we made cookies.  Those blueberries and cream cookies that I originally had no luck with.  Second try is the charm?

I learned exactly what I ws doing wrong with the cookies.  It was a series of problems.  1. I wasn't using the correct ingredients.  2. I wasn't beating the butter high enough or long enough.  3. I was mixing the flour into the cookies for too long.  4. I had the wrong size cookie dough scoop.  After learning the correct tricks for each of these problems, you might be wondering if my blueberries and cream cookies came out all right.  Well, my bakery partner and I ate them too fast and I completely forgot to take a picture.  Yeah, they were perfect.  Let me pass on the secrets.


Let's start with the ingredients.  I labeled you a nice picture above and hit on the key ingredients.  Bread Flour - I used all-purpose flour the first time.  Because of the higher percentage of butter in these cookies, you want a higher protein flour that can support all that fat.  European butter - Tosi mentioned that regular unsalted butter would work fine, European butter is made with cultures and tastes richer.

Glucose syrup - I originally used corn syrup, as the cookbook said it would be fine.  I can say that the glucose lead to a crunchy/chewy cookie that was amazing.  If you can find it, use glucose.  Powdered milk - Okay, I did use this in the original recipe, but you might not know where to find it.  I bought private label powdered skim milk and it works just fine.  You will either find it in the baby or baking aisle.


Once you have the proper ingredients at hand, it's all about timing.  The Breville stand mixers that we used actually had a timer on the side of the machine.  I totally wanted to take that mixer home with me, it was awesome.  When combining the butter, sugar and eggs, you need to beat and beat until you see no more streaks of sugar crystals.  In the first image above, you'll see exactly how far you have to take the mixture.  It's just before the mixture turns into butter soup.  We started with fridge temperature butter and in ten minutes, on the highest setting, it turned into that fluffy buttery cream.


Adding the dry ingredients to the butter mixture is done quickly.  After pouring all of the dry ingredients into the bowl, you turn on the mixer to medium low and mix for less than 30 seconds.  The final inclusions (crumbs, dried fruits, chocolate chips) are added and mixed in for less than 15 seconds.

The final step is measuring out the dough.  I went to Amazon and bought the same measuring scoop that they use at Milk bar.  It's that blue handled cookie dough scoop you see resting on the baking sheet.  By portioning out the cookie dough with this scoop, the cookies bake perfectly in 18 minutes.


I spent a few hours with the Milk bar team and have finally mastered these amazing cookies.  It's a combination of the high butter to flour ratio, addition of glucose and secret powdered milk ingredient, that make these cookies chewy, crunchy and amazing.  They are also huge and a meal of their own.


Hopefully my previous failures and newfound knowledge will help you when making the Milk Bar cookies!  Let me know if you have any questions when baking, I learned quite a lot from the bakers at Milk!  And of course, if you are coming to NYC sometime soon, sign up for a class yourself!  It's a great way to spend a night!
Related Posts with Thumbnails